


Electric Dirt Bike Brake Lever Reach Adjustment: Hand Size, Gloves and Control
Brake lever reach is the resting distance between the grip and lever blade. Adjusting it can help a rider with smaller or larger hands keep a neutral wrist and apply progressive pressure, but reach is not a substitute for correct brake service. The lever must still create full braking force before contacting the grip, fingers, switch housing or handguard, and the brake must release completely after every pull.
Check the fitted brake and the current Valtinsu user manual before turning an adjuster. The EM5 Pro product page can identify the bike configuration, but the brake maker’s service information controls the adjustment range and procedure.
Define the setup goal before changing anything
The goal is repeatable control, not the shortest possible reach. With normal riding gloves on, sit in the usual stance and place the hand naturally on the grip. The wrist should remain close to neutral while one or two chosen fingers rest on the lever’s intended contact area. The remaining fingers must retain the grip without being trapped when the lever is pulled.
 Figure 1. Official Valtinsu EM5 Pro product image accompanying define the setup goal before changing anything. Confirm component locations and limits against the exact model page and current manual.
Record the current position and brake behavior
● Photograph the lever, reach adjuster and control-clamp position.
● Measure or mark the resting lever position relative to a fixed point on the grip.
● With the bike powered off, pull the lever repeatedly and note the engagement point, firmness and return speed.
● Roll the bike and confirm that the brake releases fully.
● Check whether the lever or reservoir changes angle when moderate force is applied.
If the lever suddenly feels softer, travels farther than before, does not return, leaks fluid or gives inconsistent braking, stop. A reach adjustment will not repair air in a hydraulic system, worn pads, a damaged hose, loose hardware or a sticking caliper.
 Figure 2. Official Valtinsu EM5 Ultra product image accompanying record the current position and brake behavior. Confirm component locations and limits against the exact model page and current manual.
Separate reach from lever angle and control position
Reach changes how far the fingers travel from the grip to the blade. Lever angle changes wrist posture. Moving the complete control inward or outward changes where the fingers contact the blade. These settings interact, but they are adjusted at different points and may have different torque requirements. Change one variable at a time so the result can be attributed correctly.
Choose a neutral wrist
While seated and while standing, extend the forearm toward the grip. A lever placed far above or below that line can force the wrist to bend during braking. Off-road posture changes as the rider moves, so confirm that the chosen angle works in both positions and does not cause the reservoir, hose or cable to contact another component.
Choose the finger contact point
Many riders prefer one- or two-finger braking, but suitability depends on the brake, hand strength, gloves and terrain. The fingers should meet a consistent part of the blade with enough leverage to build pressure smoothly. Do not position a finger on a ball end, sharp bend or damaged surface, and do not assume a one-finger setup is safe because another rider uses it.
 Figure 3. Official Valtinsu EM-5 product image accompanying separate reach from lever angle and control position. Confirm component locations and limits against the exact model page and current manual.
Adjust reach in small documented steps
Use the specified tool and direction for the fitted lever. Make a small change, cycle the lever several times and compare the new resting position with the original mark. Never force the adjuster past resistance or beyond its indicated range. Some mechanisms alter leverage, pad contact or free stroke as they move; the manual must confirm what the control actually adjusts.
 Figure 4. Official Valtinsu EM5 Pro product image accompanying adjust reach in small documented steps. Confirm component locations and limits against the exact model page and current manual.
Protect full lever travel
Pull the lever with the force expected in a hard stop while the bike is stationary and stable. There must be usable clearance before the lever touches the grip, gloved fingers, throttle housing or handguard. Check at straight ahead and both steering locks. Thick winter gloves can change both reach and clearance, so perform the test with the gear that will be worn.
Verify release and brake-cutoff behavior
Release the lever quickly and slowly several times. The blade should return consistently and the wheel should not remain braked. With the bike safely supported and only where the manual permits, confirm that any brake-cutoff indication activates and clears with lever movement. Do not bypass a cutoff sensor to accommodate a reach setting.
 Figure 5. Official Valtinsu EM-5 product image accompanying verify release and brake-cutoff behavior. Confirm component locations and limits against the exact model page and current manual.
Run a progressive low-speed test
● Begin at walking speed on clean, level and high-grip ground.
● Make several gentle stops and confirm consistent engagement.
● Increase pressure gradually while keeping the bike upright.
● Repeat with the bars slightly left and right to confirm cable and hose clearance.
● Return to static inspection and look for adjuster, clamp or lever movement.
Know when fit requires different hardware
If the usable adjustment range cannot provide comfortable reach and full braking clearance at the same time, the answer may be a compatible lever, control position change or professional setup. Compatibility includes master-cylinder or cable geometry, brake-cutoff sensing, lever ratio, pivot hardware and crash protection. Do not select a lever by appearance alone.
Account for fatigue, gloves and hand mobility
A reach that feels acceptable during a one-minute garage check may become difficult after repeated braking. Test the posture while seated and standing, with the rider’s normal gloves and without gripping harder than necessary. Numbness, pain or a wrist that collapses inward can indicate poor control position, but it can also reflect glove fit or an injury. Do not compensate for limited movement by setting the lever so close that full travel disappears.
Create a repeatable setup record
Photograph the adjuster position and lever angle against fixed reference marks. Note glove type, preferred braking fingers and whether the rider can reach the blade at both steering locks. After the first short ride, record whether engagement and return remained consistent as the brake warmed. This creates a useful baseline when a future lever change feels like an ergonomic issue but is actually pad wear, air, damage or a loose control clamp.
Preserve crash clearance without compromising control
Handguards and lever guards may protect controls, but they must not contact the lever through its complete travel or become a new pinch point for the hand. Confirm compatible mounting, bar-end condition and cable routing. Shortening a lever, bending a blade or filing a guard to create clearance changes engineered parts and is not an acceptable substitute for compatible hardware.
If two riders share the bike, record separate reach references rather than repeatedly turning the adjuster without a baseline. Each setting must independently pass full-travel, brake-release, hose-routing and brake-cutoff checks. An adjuster that becomes loose, difficult to turn or unable to hold its position needs service, not stronger hand force.
Control Fit Is Part of Choosing the Right Bike
Brake lever reach should let the rider cover the lever without stretching while preserving full lever travel and clearance. The Valtinsu electric dirt bike collection lets buyers compare overall model fit before treating one lever adjustment as the complete ergonomic solution. Seat height, wheel size, gloves and hand strength all affect how natural the controls feel.
The Valtinsu EM-5 Pro is an adult off-road model with hydraulic disc brakes, so any reach adjustment must preserve braking force and a firm lever feel. Use the model page to identify the correct bike, then follow the manual for the actual adjuster. If the lever approaches the grip, feels spongy or changes position after adjustment, stop and inspect the brake system.
Use Valtinsu's electric dirt bike control-fit resources as the broad ownership reference, then confirm every procedure, part and limit against the exact model page and current manual.
Quick Decision Table
|
Reach result |
Interpretation |
Adjustment decision |
|
Secure contact in normal gloves |
Reach is likely usable |
Confirm full travel and release before riding. |
|
Fingers stretch off the grip |
Lever may be too far away |
Adjust in small permitted increments. |
|
Lever contacts the grip |
Insufficient braking clearance |
Do not ride until brake travel is corrected. |
|
Brake cutoff remains active |
Lever or switch is not returning correctly |
Resolve the signal before propulsion testing. |
FAQs
Should the brake lever touch the grip during a hard pull?
No. A properly functioning system needs reserve travel before the blade contacts the grip, fingers or another control. Contact can signal an unsafe reach setting or a service problem.
Use this quick classification:
● The rider should reach the lever securely in normal gloves without rotating the hand off the grip.
● The lever must retain full usable travel and must not contact the grip during hard braking.
● The wheel must release and any brake-cutoff indicator must clear after every adjustment.
Is one-finger braking always better off-road?
No. It can leave more fingers on the grip, but only if the fitted brake and rider can generate and modulate enough force safely.
Can reach adjustment fix a soft lever?
No. A soft, changing or unusually long lever stroke requires brake inspection. Moving the blade closer can hide the symptom while reducing travel margin.
Should I adjust the lever while wearing gloves?
Yes. Glove thickness changes finger reach and clearance. Verify every glove setup you intend to use.
Follow this check sequence:
1. Record the starting position and confirm the brake operates normally before changing reach.
2. Adjust in small increments with the correct control, checking both hand fit and lever clearance.
3. Complete a static release test followed by a walking-speed check in a closed area before normal riding.
Why does the brake drag after I changed reach?
The mechanism may have been moved outside its correct range, or an existing return, caliper or hydraulic fault may have become apparent. Restore the documented setting and inspect before riding.
Should the front and rear brake lever reach settings be identical?
Not necessarily. Hand position, lever design and brake response can differ, but both levers must be easy to reach without stretching and must retain full safe travel. Match function and control rather than counting adjuster turns. Record each setting separately.
Should reach be adjusted differently for thicker winter gloves?
It may need a small change if thicker gloves prevent secure finger contact, but clearance and full lever travel still control the decision. Set reach while wearing the gloves you will ride in, then confirm that the lever returns freely, the wheel releases and the brake-cutoff signal clears. Do not move the lever so close to the grip that hard braking runs out of travel. Record the warm-weather position before changing it so the original setup can be restored and compare both controls at walking speed in a closed area.


Looking for something else?

How We Test Electric Dirt Bike Range: A Repeatable Real-World Protocol
LEARN MORE
Rated Power vs Peak Power on Electric Dirt Bikes: What the Numbers Actually Mean
LEARN MORE
Electric Dirt Bike Energy Use: How to Measure Wh per Mile on the Trail
LEARN MORE
How to Measure Electric Dirt Bike Battery Health Without Guessing
LEARN MORELooking for something else?

How Much Does an Electric Dirt Bike Weigh?
LEARN MORE
Electric Dirt Bike Brake Fade: Causes, Warning Signs and a Safe Test Method
LEARN MORE
Electric Dirt Bike Climbing Angle: Degrees, Grade and Real Trail Limits
LEARN MOREYou may also like
VALTINSU EM-5 Off-Road Electric Dirt Bike
VALTINSU EM-5 Pro Off-Road Black Electric Dirt Bike
VALTINSU EM-5 Pro Green Electric Dirt Bike
Further reading

Why Electric Dirt Bike Charging Slows Near Full: The Charging Curve Explained
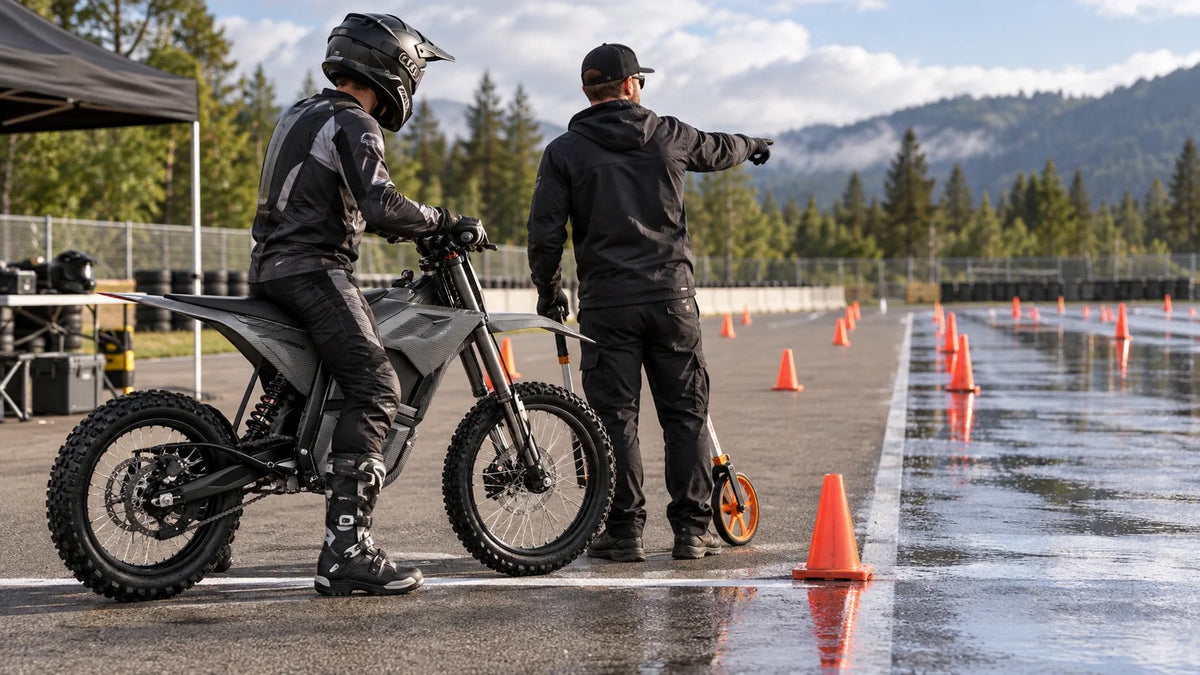
Electric Dirt Bike Wet vs Dry Braking: Build a Personal Stopping-Distance Baseline

Electric Dirt Bike Skid Plate Inspection After a Rock Strike