

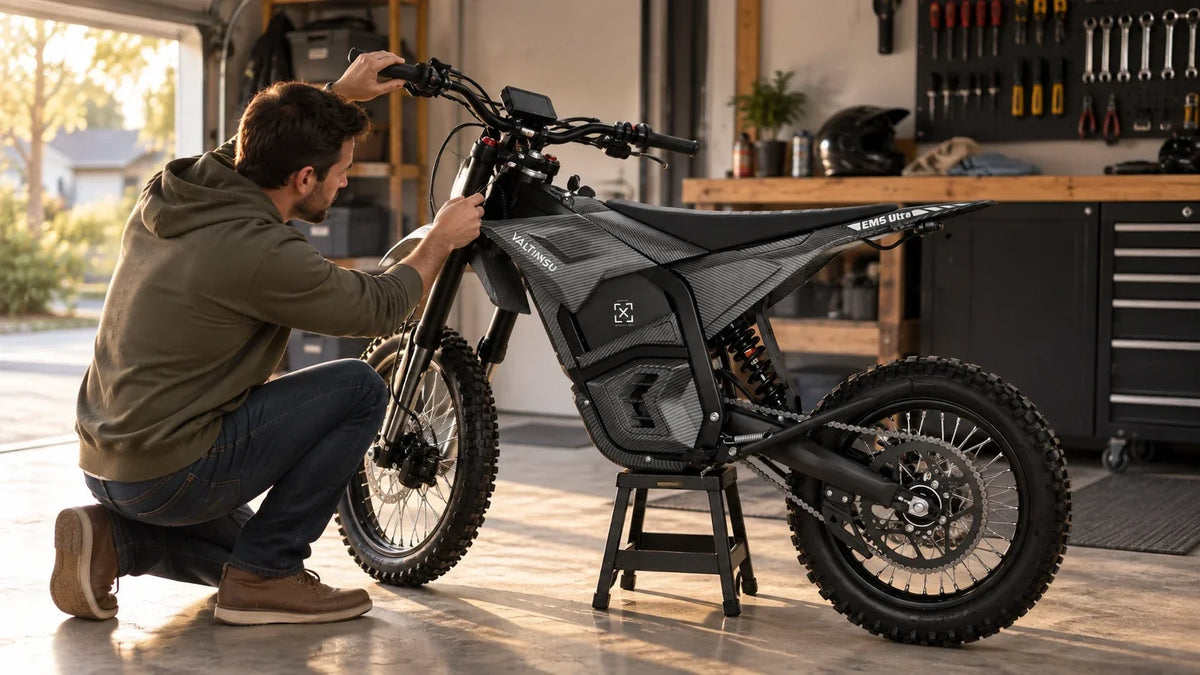
Electric Dirt Bike Powers Off When the Handlebars Turn: Cable and Connector Checks
An electric dirt bike that shuts off, loses its display or disables propulsion when the handlebars turn has an intermittent control or power path associated with steering movement. Stop riding it. Steering must not change the electrical state of the bike. The likely external clues are a cable pulled tight at one lock, a pinched harness, a connector that is not fully latched, a wire damaged where it repeatedly bends, or a brake or control signal changing as the bars move. The exact cause cannot be confirmed from the symptom alone.
The safe goal is to prove the trigger while the bike is parked, identify the affected function and document the cable path without opening the battery, controller or sealed harness. A fault that appears only in one steering position can disappear when the bars return to center, but that does not make the bike reliable. The same movement will occur repeatedly on the trail.
Why this is a no-ride fault
A sudden display blackout or propulsion interruption can destabilize a rider during a turn, climb or obstacle crossing. A partial connection can also generate heat at a damaged contact. If the fault involves a brake cutoff or throttle signal, control behavior may become unpredictable. Keep the wheel off the riding surface during any stationary powered observation and have the drive wheel controlled according to the manual.
Power the system down immediately for exposed conductors, crushed insulation, heat marks, odor, sparking or a connector that is separating. Do not tape over the area and ride. Tape can hide movement without restoring conductor integrity, strain relief, sealing or connector retention.

Figure 1. Official Valtinsu EM5 Pro product image accompanying why this is a no-ride fault. Confirm component locations and limits against the exact model page and current manual.
Confirm the steering trigger without riding
● Park on stable level ground. Switch the bike off and review the safe stationary setup in the Valtinsu user manual.
● Photograph cable routing with the bars centered, then at left and right lock while the system remains off. Do not pull the bars beyond their mechanical stop.
● Look for the point where slack disappears, a cable rubs, a connector rotates, or a harness is trapped between the frame, fork, light, control or accessory.
● If no damage is visible and the manual permits a stationary power check, keep hands away from the throttle and drive wheel. Turn the bars slowly while recording the display and controls.
● Stop after one clean reproduction. Repeatedly cycling a failing connection is not a repair and can worsen an intermittent contact.
Separate tilt from steering. If practical without lifting or riding the bike, confirm whether turning the bars alone changes the state. A battery that moves when the entire bike leans points to a different retention or connection issue. Support should know whether the trigger is steering angle, frame movement, cable touch, brake application or vibration.

Figure 2. Official Valtinsu EM5 Ultra product image accompanying confirm the steering trigger without riding. Confirm component locations and limits against the exact model page and current manual.
Inspect routing at center and both locks
Slack and bend radius
Cables need enough free movement for full steering without becoming taut, folding sharply or rubbing a fixed edge. Compare both sides. A bundle that looks relaxed at center may tighten around a light bracket, number plate or aftermarket accessory at one lock. Do not reroute a critical harness based only on appearance; first compare it with the model routing in the manual or a verified product photo.
Connector retention
Inspect only user-accessible connectors. The halves should be fully seated, aligned and secured by their intended lock. Pull on the connector body only as the manual allows, never on the wires. A connector that changes the display when touched, shows a damaged latch or has been held together with tape needs replacement or qualified repair.
Repeated-flex and pinch zones
Look where the harness exits the display or control, passes the handlebar clamp, crosses the steering head and enters the frame. Warning signs include polished insulation, flattened sections, a stretched outer sleeve, a sharp kink, exposed copper or a repair that makes the cable locally stiff. Internal conductor damage can exist even when the outer jacket looks intact, so a repeatable angle trigger still matters.

Figure 3. Official Valtinsu EM5 Ultra product image accompanying inspect routing at center and both locks. Confirm component locations and limits against the exact model page and current manual.
Use the affected function to narrow the report
● Display and all electrical functions go dark: describe this as a system power interruption, not merely throttle cutoff.
● Display stays on but propulsion stops: note whether a brake icon or error appears and whether either brake lever is being pulled by cable movement.
● Headlight or horn changes but propulsion remains: identify a low-voltage accessory or control branch, while still treating exposed or pinched wiring as unsafe.
● The fault occurs only after an accessory was installed: remove the accessory only if that is safe and does not disturb original wiring; document how it changed routing.
Do not bypass a brake cutoff, join wires together, probe unknown connector pins or replace the controller first. Those actions can add faults and remove the relationship between steering movement and the original symptom. Diagnosis should preserve the trigger and isolate the path in a controlled service setting.

Figure 4. Official Valtinsu EM5 Pro product image accompanying use the affected function to narrow the report. Confirm component locations and limits against the exact model page and current manual.
What a useful support package contains
Send one short video showing the bars, cable path and display in the same frame. State the exact steering point where the condition begins, whether it happens in both directions and whether power returns automatically or requires a restart. Add three still photos at left, center and right, plus close views of any tension or damage.
Include the model, order or serial information, mileage or ride hours if known, recent falls, transport, washing and accessory changes. If the battery was removed or the controls were repositioned before the problem appeared, include that. Support can then compare the routing with the correct model and decide whether the bike needs a harness, connector, control or service inspection.
After repair: verify movement before riding
A qualified repair is not finished when the bike merely powers on at center. With the system off, the harness must move freely through the complete steering range without tension, pinch or interference. A controlled stationary function test should then confirm stable display, lighting and cutoff behavior at both locks. The first ride should be a low-speed check in a closed area, not a trail test.
Use model-compatible parts from compatible accessories or direct support. A harness that looks similar may differ in pin assignment, length, sealing or communication. Do not extend a critical cable with an unapproved adapter to solve a routing problem.

Figure 5. Official Valtinsu EM-5 product image accompanying after repair: verify movement before riding. Confirm component locations and limits against the exact model page and current manual.
Treat an Intermittent Cutout as a Safety Fault
A bike that loses power when the handlebars move should not be evaluated by speed or range. First identify the exact electrical platform in the Valtinsu electric dirt bike collection, power the bike down and inspect only accessible cable routing and connectors. The goal is to document where movement affects the system without repeatedly recreating a dangerous cutoff.
For a Valtinsu EM-5 Pro, the current product page establishes the 60V/27Ah model and its intended adult off-road use. That baseline helps support identify the correct harness and control layout, but it does not make continued riding acceptable. A repeatable shutdown, pinched cable, heat mark or exposed conductor requires model-specific service before the bike returns to the trail.
Use Valtinsu's electric dirt bike wiring and safety resources as the broad ownership reference, then confirm every procedure, part and limit against the exact model page and current manual.
Quick Decision Table
|
Steering trigger |
What it suggests |
Ride decision |
|
Cuts out at one lock position |
Harness is pulled, pinched or intermittently connected |
No ride until full steering travel is electrically stable. |
|
Appeared after accessory install |
Cable slack or routing was altered |
Photograph the install and restore only manual-approved routing. |
|
Display resets with propulsion |
Main power or control connection may be affected |
Do not classify it as a cosmetic accessory fault. |
|
Visible chafing or exposed conductor |
Immediate wiring damage |
Power down and seek qualified repair. |
FAQs
Why does the bike shut off only when I turn left?
Turning left may tighten or bend one part of the harness, move a loose connector or change a brake or control signal. The one-sided trigger is useful evidence, but it does not identify the component by itself.
Use this quick classification:
● Record whether the display, propulsion, brake-cutoff signal or only one accessory changes.
● Note the exact steering position and whether the symptom appears while turning left, right or returning to center.
● List recent control, light, phone-mount or cable-routing changes that may have altered harness slack.
Can the brake cutoff cause this symptom?
It can disable propulsion while the display remains on if cable movement falsely activates the signal. It does not usually explain every electrical function going dark. Record which functions stop and whether a brake indicator appears.
Should cables move at full steering lock?
They should follow the intended routing with enough slack for full steering and without becoming taut, pinched or sharply folded. The exact path and retaining points are model-specific.
Can I keep riding if power returns at center?
No. The fault will recur as the bars move and can cause sudden control loss. Keep the bike out of service until the routing, connector and affected circuit are inspected.
Follow this check sequence:
1. Power down and stabilize the bike; do not reproduce the cutout while riding.
2. Move the bars slowly through the full range while watching accessible cables for tension, pinching or rubbing.
3. If steering still changes electrical behavior, stop use and provide photos plus the repeatable trigger to qualified support.
What video should I send support?
Use one stable frame that shows the handlebar angle, cable bundle and display. Move slowly from center toward the trigger once, narrate what changes and stop. Add close photos with the bike powered off.
Can I fix a tight handlebar cable by adding or moving zip ties?
Do not treat zip ties as the repair until the correct routing is known. A relocated tie can create abrasion, steering restriction or suspension contact elsewhere. Document the tension point and follow the manual or support guidance for the correct clips, free loop and connector position.
Why can a steering-related fault appear only after a recent accessory install?
A new display, light, phone mount or control can change cable routing even when the electrical part works correctly. A zip tie may remove needed slack, a connector may be pulled partly out, or a harness may rub a new bracket near full lock. Power the bike off and compare routing at center, left lock and right lock without tugging connectors. Photograph the installation before moving anything. If steering still changes power, display or brake-cutoff behavior, do not ride; the repair must restore free movement and secure retention through the full steering range.


Looking for something else?

Electric Dirt Bike Whoops Setup: Suspension, Stance and Timing
LEARN MORE
Electric Dirt Bike Steep Descent Technique: Braking and Body Control
LEARN MORE
How to Store an Electric Dirt Bike Battery Safely: Charge Level, Temperature and Long-Term Storage
LEARN MORE
Electric Dirt Bike Water Crossings: Depth, Electrical Risk and Recovery
LEARN MORELooking for something else?

High-Altitude Electric Dirt Bike Performance Guide
LEARN MORE
How We Test Electric Dirt Bike Range: A Repeatable Real-World Protocol
LEARN MORE
Rated Power vs Peak Power on Electric Dirt Bikes: What the Numbers Actually Mean
LEARN MOREYou may also like
Moto eléctrica todoterreno para adultos EM-5 con luz
VALTINSU EM-5 Pro Off-Road Black Electric Dirt Bike
VALTINSU EM-5 Pro Green Electric Dirt Bike
Further reading
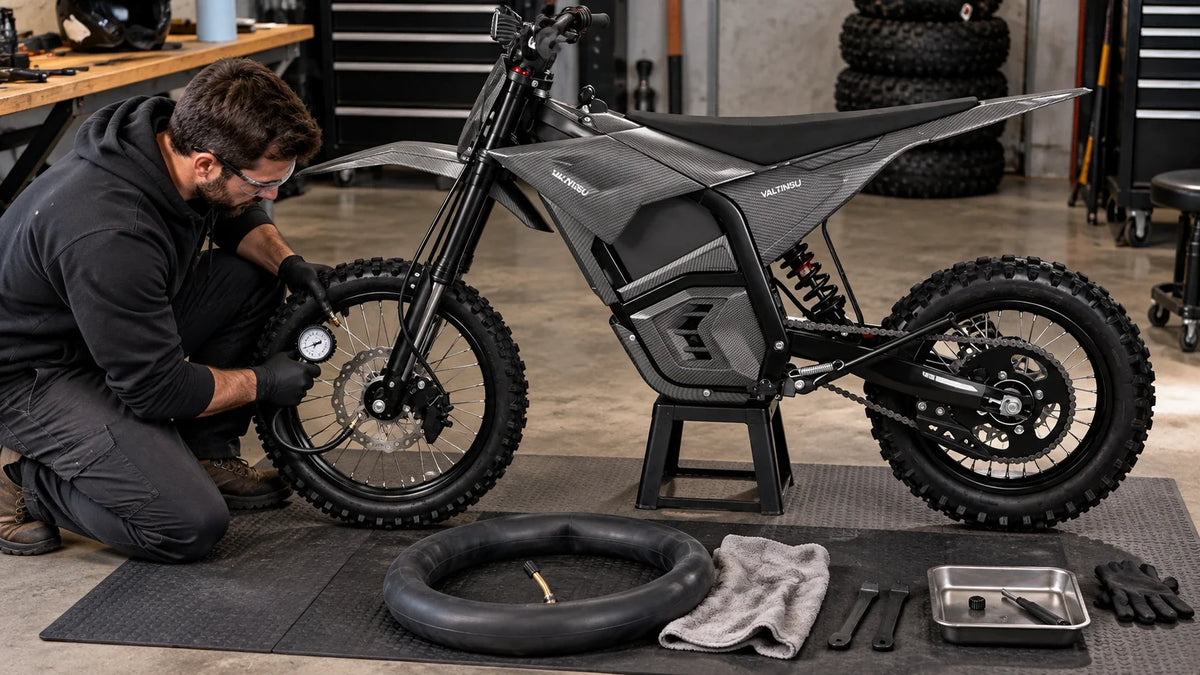
Electric Dirt Bike Valve Stem Leaning: Tire Creep, Tube Damage and Safe Fixes

Electric Dirt Bike Chain Guide and Slider Wear: When to Adjust or Replace

Electric Dirt Bike Rear Suspension Linkage: Play, Binding and Service Signs
