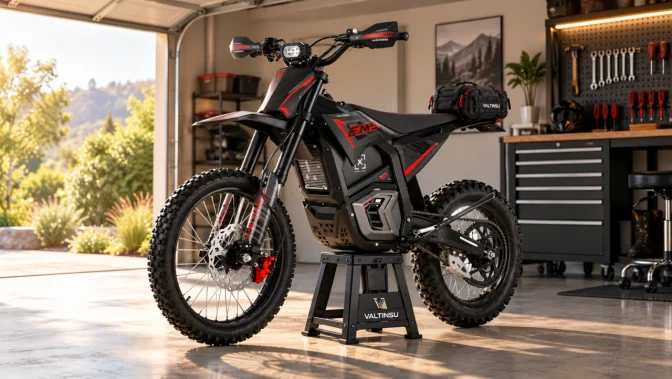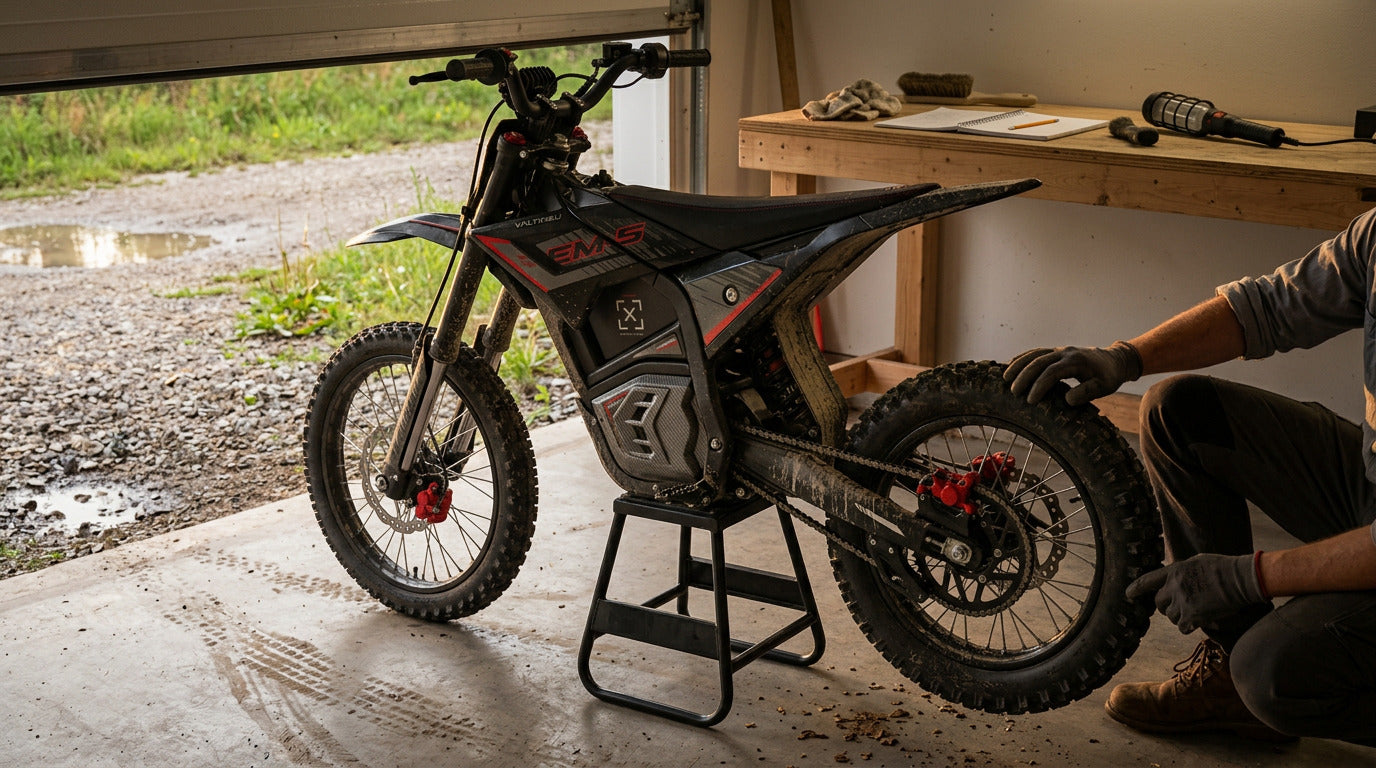
Your First 100 Miles on an Electric Dirt Bike: Break-In and Service Checklist
The first 100 miles on an electric dirt bike are an inspection period rather than a gas-engine-style mechanical break-in. Check the motorcycle at 0, 25, 50 and 100 miles for hardware settling, chain condition, brake behavior, tire and wheel condition, suspension, controls, battery and visible wiring, and always let the model-specific manual override this framework.
Your new bike comes back from its first dusty trail session and everything still looks new. That is exactly when baseline observations are easiest to take, because nothing has worn far enough yet to hide what changed.
An adult electric off-road motorcycle does not need piston-ring, oil, carburetor, clutch or valve break-in. New mechanical assemblies still settle, wear surfaces begin establishing themselves, and off-road vibration goes to work on fasteners, wheels, chain, brakes, suspension and controls from the very first ride. A first 100 mile electric dirt bike service is therefore a useful inspection framework rather than a universal service requirement, and the manual, your terrain, any crash, water or mud exposure, unusual noises and component changes all outrank the odometer.
An Electric First Service Is Inspection, Not Break-In
Conventional break-in discussion involves engine oil, piston and cylinder surfaces, the clutch, the gearbox and engine operating recommendations. None of that transfers here, so no gas-engine RPM limit, oil-change schedule, heat-cycle routine or throttle procedure belongs anywhere near an electric motorcycle.
What does apply is everything that physically settles, beds, loosens, wears or reveals an installation issue: fasteners, axles, spokes and wheels, chain and sprockets, brake pads and rotors, tires, suspension hardware, controls, battery retention and visible cables and connectors. Search results often frame this as new ebike break in service, which is why owners arrive expecting bicycle advice and find something closer to motorcycle practice instead. Electric means less powertrain maintenance, not zero inspection.
Mile 0: Build a Baseline Before You Ride

Figure 1. Four inspection checkpoints. Editorial checkpoints, not a universal factory service interval.
Delivery is the first service checkpoint, not something to postpone until mile 100. Start by identifying your exact model, whether that is an EM-5, EM-5 Pro, EM-5 Ultra or EM23, then use the Valtinsu user manual page for that model before applying any torque value, pressure, charging instruction, adjustment procedure or service interval. No universal figure for any of those exists across models.
Then record the starting condition in whatever form you will actually keep: mileage, date, surface, tire condition and pressure per the manual, chain condition, brake feel, visible hardware, wheel and spoke condition, any suspension seepage, battery and charger state, warning codes, and notes. It takes a few minutes and it becomes the reference every later check is measured against.
Finish with external checks only. Confirm the wheels are securely installed, the handlebar and controls are aligned, the footpegs are secure, both brakes function, the throttle returns normally, the battery is locked and secured, no external wiring is damaged, and the charger and charge port are undamaged. MSF’s T-CLOCS checklist covers the same tire, wheel, control, brake and chassis ground for any motorcycle. Nothing here requires electrical disassembly, and none should be attempted.
Mile 25: Compare Against Your Own Baseline
Make this a short inspection after several normal rides, and sooner after rough terrain, a drop, deep mud, transport or an unusual strike. The principle is simple: change from your own baseline matters far more than assuming every new motorcycle must develop the same fault.
Inspect the manufacturer-identified high-load points, which typically include axles, brake hardware, bars, footpegs, suspension mounts, guards and accessible chassis fasteners. Do not tighten every bolt you can reach, and do not apply a generic torque value to anything. Where torque verification is specified, use only the model manual and the correct tool. On wheels and tires, look for pressure change relative to the model and tire recommendation, cuts, bulges, embedded objects, damaged tread, rim damage, loose or broken spokes, and any wheel play or wobble. Our tire guide covers condition and terrain choices in more depth.
Chain and Brakes Change Earliest

On a geared, chain-driven electric dirt bike the chain deserves early attention. Compare three states visually: a clean chain, a dry one, and a contaminated one. Mud, sand and excess lubricant all hold abrasive debris against the chain and sprockets, so more lubricant is not automatically better.
Tension and alignment are model-specific and belong to your manual alone. Do not borrow a slack specification from a Sur-Ron, a Talaria, another Valtinsu model or a conventional dirt bike, because none of them describes your drivetrain. Then listen: a new knock, slap, click, grind or repeated tight spot is reason to inspect before the next ride rather than after it. The EM-5 and EM-5 Pro are both chain-driven, and neither shares one universal adjustment number with the other.
Brakes behave differently when new. Brake surfaces establish contact during initial riding, so lever feel, noise and surface appearance may all change over the first rides, and that is normal within the manufacturer’s guidance. What is not normal: reduced braking, a lever suddenly reaching farther, fluid leakage, severe rotor rub, visible rotor damage, uneven pad wear, grinding, or brake cutoff behavior that changes unexpectedly. Any of those means stop and inspect, and hydraulic bleeding or caliper work belongs to a qualified technician.
Mile 50: Add Chassis and Suspension

By 50 miles the useful question shifts from setup toward what repeated trail vibration and suspension movement have produced. Inspect the fork and shock externally for oil or fluid where it should not be, damaged seals, scratches on sliding surfaces, new clunking, changed ride height or response, and loose external hardware. Sag, air pressure, compression and rebound settings and service intervals are all model-specific, so none is prescribed here.
Then check the frame, welds, accessible mounting points, skid or underbody protection, pegs, brake mounts, motor area and battery enclosure for impact marks or movement. A scrape is not automatically structural damage. A crack, a deformation, a loose mount or a change in how something operates is a different matter and needs escalating.
Battery, Charger and Washing

Keep battery work to external inspection. Look for case damage, swelling, cracks, heat damage, loose retention, unusual odor and moisture where it should not be. The U.S. Fire Administration is direct about the warning signs: stop using a lithium-ion battery if you notice an odor, a change in color, too much heat, a change in shape, leaking or odd noises. Do not open the battery, and do not attempt cell or battery-management repair.
On charging, use the correctly supplied or approved charger and cable, and check the plug, port condition, contamination and any abnormal heating. CPSC guidance is to use the equipment that came with the product, follow the manufacturer’s instructions, stay present while charging rather than charging while asleep, and stop using damaged batteries or charging equipment. Beyond that, universal rules such as always charging to a particular percentage are not supported, so follow your manual instead.
Washing during the first 100 miles is fine if your model manual allows it and you follow the approved procedure. The distinction that matters is controlled cleaning versus high-pressure blasting. Remove loose dirt first, avoid forcing water into seals, bearings, connectors, controls, battery interfaces, motor and controller areas and the charge port, dry the motorcycle before storage or charging, and reinspect the chain, brakes, suspension and electrical exteriors afterward. An IP rating is not permission for immersion, pressure washing or deep-water riding.
After Mud, Rain, a Fall or a Hard Strike, Ignore the Odometer
This is the biggest weakness in any mileage-only schedule, including this one. Condition-based inspection overrides the 25, 50 and 100-mile checkpoints entirely. Inspect immediately after a crash or tip-over, a hard rock or log strike, deep mud, significant water exposure, a transport incident, a chain derailment, a wheel impact, any brake change, new vibration, a control change, or an error or warning message.
A motorcycle at 17 hard trail miles may need considerably more attention than one at 100 easy hardpack miles. The odometer measures distance, not what the terrain did to the machine.
Mile 100: The Full Condition Review

Figure 3. The mile 100 review and service record. Designed to print and keep.
Work through every system in Figure 3 and mark each one as pass, service or stop. Compare each result against three references in order: your mile-0 baseline, the exact model manual, and your own 25 and 50-mile notes. Direction of change is what you are looking for, which is why a four-line written record beats memory. This is a condition review rather than a teardown, so nothing here involves opening sealed assemblies, and our maintenance guide covers the ongoing routine once the first 100 miles are behind you.
What You Can Check, and Where to Stop
Owner inspection reasonably covers visual checks, cleaning, checking controls, recording tire pressure per manufacturer guidance, chain inspection and lubrication where approved, and looking for damage or change. Professional or manual-directed service covers wheel truing and spoke correction, hydraulic brake service, bearing diagnosis, suspension service, structural damage assessment, electrical fault diagnosis, motor and controller work, and any unclear fastener or torque problem. Knowing what to observe yourself is useful; knowing where to stop is part of proper maintenance.
One schedule also cannot cover every electric dirt bike, which is the whole reason this article keeps pointing at manuals.
|
Model |
Where the documentation lives |
Service difference that matters |
|
Valtinsu EM-5, EM-5 Pro, EM-5 Ultra |
Valtinsu manual hub, per exact model |
Geared motor with chain final drive, so chain and sprocket condition is an early check |
|
Sur-Ron Light Bee X |
Official Light Bee X owner documentation |
Established aftermarket, deep owner knowledge, race visibility and strong resale, though intervals must be read from the exact manual and model year |
|
Talaria Sting R |
Talaria owner documentation |
Its own run-in requirements plus gearbox-related maintenance, which is the clearest proof that schedules cannot cross brands |
|
E Ride Pro SS 3.0 |
Official manuals and support, by model |
Brake fluid specification and electronic diagnostics can differ between its own models |
None of that ranks one brand as easier or better. It establishes one habit: manual first.
Same Checklist, Different Load
Every Valtinsu model deserves the same categories of external inspection, and riding intensity decides how quickly consumables and adjustments start asking for attention. Higher-output riding, heavier trail impacts, aggressive acceleration, heat, mud and rider behavior all move that timeline. Maintenance is identical whether an owner chose the EM-5 Pro in Black or in signature Volt Green.
The EM-5 Ultra makes the point about load rather than about intervals. It lists 72V, 8,000W peak, 203 lb-ft, 56 mph and up to 75 miles, and its geared motor uses internal reduction to multiply torque before the chain sends it to the rear wheel. An 80 kg adult repeatedly accelerating on rocky Colorado hardpack puts very different loads through that chain, those tires, the brakes and the fasteners than a low-speed yard shakedown does. The motor rating itself does not shorten a service interval; how the motorcycle is used does.
For the first service, useful garage categories include a correct tire gauge, approved chain-care supplies, soft brushes and cloths, manual-approved lubricant, a decent inspection light, model-approved replacement wear parts and the specific tools your manual calls for. Check fitment through the Valtinsu accessories collection or support before buying, because universal torque tools, fluids, battery products and chargers are exactly where owners get caught out.
Stop Riding and Get Support When
Some findings end the ride rather than the inspection. Stop and contact support for:
- A cracked or deformed frame or wheel
- A loose wheel or axle that cannot be corrected per the manual
- Brake fluid leakage or a major loss of braking
- Battery swelling, impact damage, smoke, unusual smell or abnormal heat
- Damaged charging equipment
- Exposed or frayed electrical conductors
- A repeated error code
- Unexpected throttle behavior, or motor operation that changes suddenly
- A chain that repeatedly derails or binds
- A suspension leak with changed operation, or a new severe wobble
- Any repair requiring procedures outside the owner manual
Nothing on that list is solved by bypassing a sensor, opening the battery or controller, or improvising an electrical repair.
Conclusion

One hundred miles is not a magic repair threshold. Mile 0 establishes what normal looks like on your motorcycle, mile 25 catches early settling, mile 50 adds evidence from repeated use, and mile 100 gives you the full comparison against all three references.
Hard impacts, mud, rain, unusual operation or a warning message override the mileage every time, and the manual wins over generic internet advice in every disagreement. Follow the model-specific first-service schedule on the Valtinsu user manual page before increasing riding intensity, and pick up anything you need from the accessories collection once fitment is confirmed.
FAQS
What maintenance should I do during the first 100 miles on an electric dirt bike?
Inspect at four points: mile 0 for a baseline, mile 25 for early settling, mile 50 for chassis and suspension, and mile 100 for a full review. These are editorial checkpoints rather than factory intervals, so your model manual takes priority.
Does an electric dirt bike need a break-in service?
Not in the gas-engine sense, since there is no piston, oil, carburetor or clutch break-in. Mechanical settling is real though, so fasteners, chain, brakes, wheels, suspension and controls all deserve early inspection during the first rides.
Is 100 miles a required first-service interval for every electric dirt bike?
No universal interval exists. Your exact model manual overrides this framework, and documentation differs meaningfully between brands: Talaria publishes its own run-in and gearbox requirements, and E Ride Pro specifications vary by model.
Should I charge my electric dirt bike after every ride?
Follow the manufacturer instructions for your model rather than a universal state-of-charge rule. Use the approved charger, stay present while charging, and avoid storing the battery deeply depleted. No single percentage target applies across every machine.
Can I wash my electric dirt bike during the break-in period?
Yes, within your model cleaning guidance. Remove loose dirt first, avoid directing water at seals, bearings, connectors, controls, the battery interface and the charge port, dry it before charging or storage, then reinspect the chain and brakes.
What should I check after the first 25 miles?
Look for change from your baseline in the chain, brakes, tires, wheels and spokes, manufacturer-identified fasteners, suspension exteriors, battery retention, controls and external cables, plus any new noise, vibration or warning code.
How do I know if my new electric dirt bike chain needs service?
Check it against your model specification, not a generic figure. Warning signs include contamination, dryness, abnormal slack or tightness, a repeated tight spot, new noise, visible sprocket wear and any change in alignment.
Do electric dirt bike brakes need a break-in period?
Brake surfaces do establish contact during early riding, so feel and noise can change. Follow the brake and motorcycle manufacturer guidance rather than a generic mileage or stop-count routine, and treat reduced braking as a stop-and-inspect signal.
How much does a first electric dirt bike service cost?
There is no nationwide figure. Cost depends on the shop, the motorcycle, how wide the inspection scope is, which adjustments and parts are needed, and whether specialized electrical or suspension work is involved. Ask for a written estimate.
What should make me service a new electric dirt bike before 100 miles?
A crash, hard strike or wheel impact, unusual vibration or noise, any brake change, a chain problem, an electrical warning, battery or charger damage, a mud or water event, a suspension leak, or any loss of normal control.
Sources
- Motorcycle Safety Foundation, T-CLOCS Pre-Ride Inspection Checklist
- U.S. Consumer Product Safety Commission, Micromobility Battery Charging Safety
- U.S. Consumer Product Safety Commission, Micromobility Information Center
- U.S. Fire Administration, Battery Fire Safety


Looking for something else?
Electric Dirt Bike Replacement Parts Availability: What Buyers Should Verify Before Ordering
LEARN MORE
How to Check an Electric Dirt Bike for Safety Recalls by Model and Serial Number
LEARN MORE
How to Choose an Electric Dirt Bike Repair Shop: Questions to Ask Before Service
LEARN MORE
How to Lift a Fallen Electric Dirt Bike Without Hurting Yourself or the Bike
LEARN MORELooking for something else?
Electric Dirt Bike Fall Riding on Wet Leaves: Grip, Hidden Obstacles and Braking
LEARN MORE
Electric Dirt Bike Trailside Power Loss: Recovery Plan When the Battery Is Dead
LEARN MORE