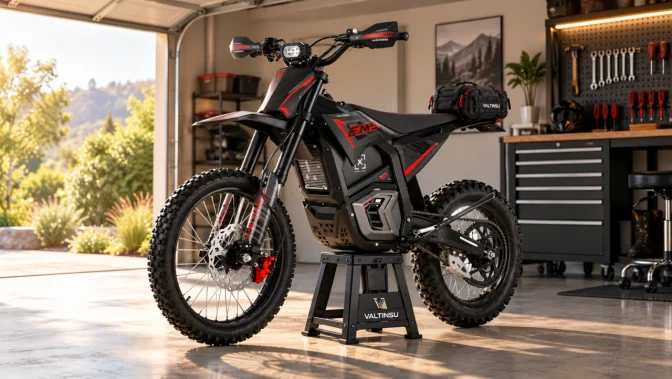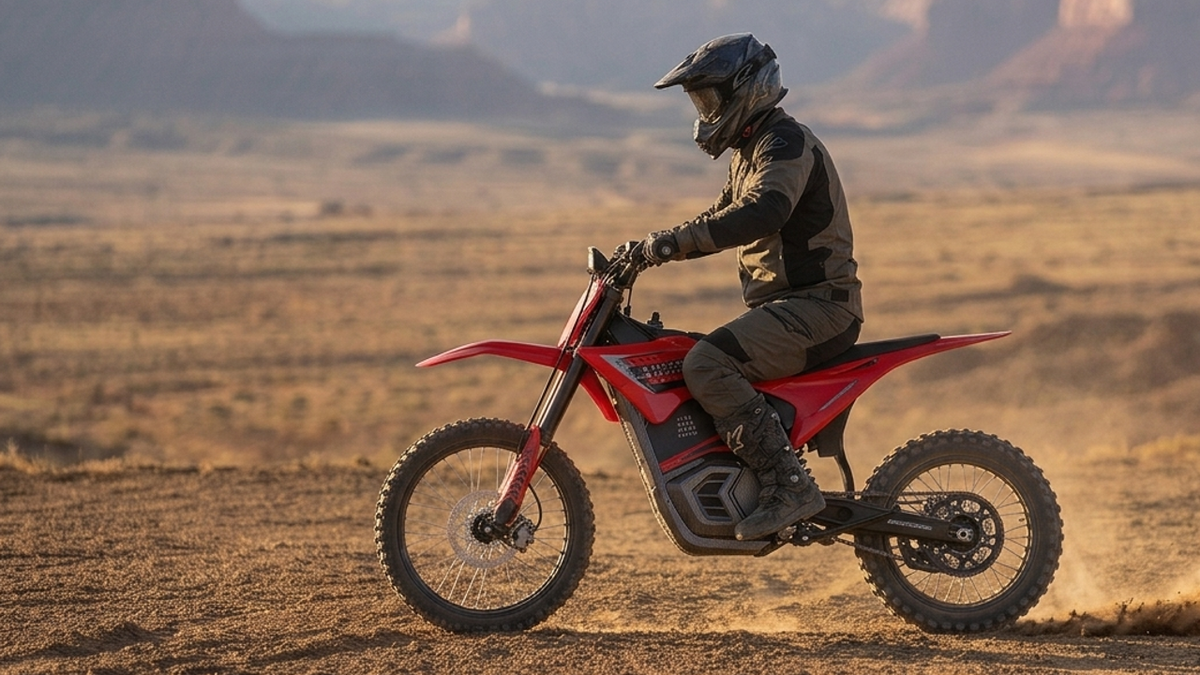
Electric Dirt Bike Setup for Hardpack Trails
For hardpack trails, start with the bike's documented tire-pressure and suspension baseline, classify the surface, then change one approved setting at a time. Record each change and return to baseline if another handling problem appears.
Hardpack includes at least three distinct surfaces: firm textured soil, polished or glazed dirt, and loose dust or gravel over a hard base. The same tire can behave differently on each. A pressure or damping setting from another rider is not a reliable baseline unless the bike, tire, rim, load and conditions match.
This guide separates firm, polished and loose-over-hard surfaces, then uses a baseline-change-test loop. Start with the exact model manual, tire guidance and suspension documentation; no universal PSI, click count or sag figure applies to every electric dirt bike.
|
The short version
|
Three Kinds of Hardpack, and Why They Need Different Answers

A single trail can contain all three surfaces. Shaded soil may retain texture, exposed corners can polish under traffic, and braking zones may collect loose material over a compact base. Classify the section causing the symptom before changing an adjuster.
Firm hardpack with predictable grip
Compact soil has visible texture and relatively consistent feedback. Grip can still fall as dust builds or inputs become abrupt, so record surface condition, rider input and bike setup before blaming one cause.
Polished or glazed hardpack
Traffic can polish the surface until the tire has little texture to engage. Grip may disappear quickly while the bike is leaned. On an electric bike, use a predictable approved mode and smooth throttle input; do not assume the mode name describes the actual delivery map.
Loose dirt over a hard base
Dust, gravel, small marbles rolling across a firm layer. The tire slides through the loose material before it reaches anything solid, so grip arrives late and inconsistently. Steering feels vague. Steering can then sharpen abruptly when the tread reaches the firm base.
|
Surface |
What it feels like |
Usual failure |
First thing to check |
|
Firm, textured |
Predictable, honest feedback through the bars and pegs |
Grip fades as dust builds; abrupt inputs break it |
Rider inputs and dust depth before any adjuster |
|
Polished, glazed |
Grip can drop abruptly as lean angle increases |
Rear steps out under torque; front tucks under brakes |
Tread condition, then how early you finish braking |
|
Loose over hard |
Delayed, inconsistent bite; steering goes vague |
Wheelspin, then sudden hookup and a line change |
Tread pattern suitability and throttle rate |
Write Down the Bike You Actually Have
A baseline sheet is boring and it saves the whole afternoon. Without one you cannot tell whether a change helped, and you cannot put the bike back the way it was.
Pull the numbers from your own documentation
Approved tire sizes. Wheel and rim specifications. Cold-pressure guidance. The suspension baseline, plus how the manufacturer counts clicks. Load limits, ride modes, inspection steps. These values are model-specific and can differ within one product line. Start with the user manual, tire guidance and current specification sheet for the exact bike rather than a general chart.
Weigh the whole riding load
Rider, helmet, boots, armour, pack, tools, water, and anything strapped to the bike. That total is what the tire and the shock actually see. Published maximum load runs 243 lb on the EM-5, 287 lb on the EM-5 Pro and EM-5 Ultra, and 265 lb on the EM23, and those figures cover everything you carry, not just what the scale says at home.
Log today’s settings before you touch them
Installed tires and tread condition. Cold pressure, taken with the gauge you intend to keep using. Adjuster positions, photographed. Ride mode, battery state, recent service work. Write down how you counted the clicks. You will not remember after four passes.
Inspect Before You Adjust
Bad handling is often a fault, not a tune. Rule that out first, and follow the inspection steps in your documentation rather than a generic pre-ride list.
Tires, rims and wheel hardware
Look at tread edges, sidewalls, any patched punctures, bead seating, rims, spokes and axle hardware. Confirm each tire is the approved size and mounted in its specified direction. Visible structural damage ends the session.
Drag, play and binding
Brake drag. Chain condition and tension. Steering looseness, wheel-bearing play, anything binding through the travel, any weep from a shock seal. All of these imitate pressure and damping problems convincingly, and all of them are cheaper to find in the garage than on a glazed corner.
Controls, battery and display
Check that the throttle returns cleanly on its own, that both brakes feel firm, that the battery is mounted tight, and that the display reads normally. Scan visible cables for pinching, abrasion or changed routing. On the legal side, 36 CFR 261.15 requires an operable braking system for off-road vehicle operation on National Forest System land, which is a decent floor to hold yourself to anywhere.
|
Stop the session if you find any of these
|
Building a Hardpack Dirt Bike Tire Setup

Tires are the whole contact story, and a safe hardpack dirt bike tire setup depends on the exact tire, rim, load, and puncture-protection system you are running. Keep every pressure change inside the applicable manufacturer guidance.
Match the tread to the section that worries you
Hard-terrain patterns use closely supported knobs that resist folding on firm ground. More open patterns clear loose soil better and can feel vague on glaze. Choose for the dominant surface, then sanity-check the worst 200 yards of the route. A loop with glazed corners and loose-over-hard straights is a compromise, not a solved problem. Our guide to tread pattern by terrain goes deeper on the pattern side.
Start at the approved cold pressure
Measure cold, before the ride, with a gauge you trust. NHTSA’s tire guidance is blunt about why: heat raises the reading, so a warm measurement tells you less than nothing about where you started. Record the number, the ambient temperature, and the load. Then leave it alone until you have a repeatable symptom worth chasing.
The tradeoff no chart shows you
Pressure moves several things at once. Carcass flex, sidewall support, steering response, contact-patch behaviour, heat, rolling resistance, rim protection. That is why one universal number cannot exist.
Nudging down inside the approved range tends to give you:
- More compliance over braking bumps and square edges.
- Slightly larger contact patch on loose-over-hard sections.
- Cost: vaguer steering, more carcass squirm, less rim protection, more heat.
Nudging up inside the approved range tends to give you:
- Sharper steering and better support under hard cornering loads.
- Rim protection improves and rolling resistance drops.
- Cost: the tire can skate on polished dirt, and the ride turns harsh over chatter.
Neither direction is automatically safer. Both are testable.
Air loss is a fault, not a setting
Topping up before every ride is not tuning. Pressure that drops on its own points at a puncture, a valve, a bead, rim damage, or a component mismatch. Fix it, then start the baseline again, because the old sheet no longer describes that wheel.
Suspension: Baseline First, Opinions Later
Sag and spring support come first
Measure sag the way your manual specifies, in full gear, boots and pack included. Preload sets ride height. It does not correct a wrong spring rate, worn internals, or a leaking shock, and no amount of clicking will make it.
Suspension terms matter: shock stroke, wheel travel, fork travel and adjuster range are different measurements. Confirm the exact hardware and measurement label in the current model manual before using any number. Different springs, linkages and adjusters require different procedures.
Put the clickers back to factory
Before diagnosing a handling symptom, return compression and rebound to the documented baseline. Follow the manufacturer's counting direction and starting reference exactly, and never force an adjuster against its stop. If the manual does not publish the procedure, ask support rather than guessing.
Front-to-rear balance on firm ground
Front-to-rear balance can influence steering and braking feel, but it is not diagnosed from one sensation. Start with sag, spring support and documented baselines, then record whether the symptom occurs under braking, throttle, bumps or steady cornering.
One adjuster per pass
Do not change pressure, preload, compression, rebound and fork height together. Stacked changes hide cause and effect and make the original baseline difficult to restore.
Managing Electric Torque on Low-Grip Hardpack

Pick the mode with the calmest delivery
Choose the manufacturer-approved mode with the most predictable response for the rider and surface. A lower speed cap does not prove a softer throttle map, and mode names are not standardized. Learn the actual response on a controlled, authorized practice area before using it on a narrow or polished trail.
Roll it on, and finish the steering first
Set the line, reduce abrupt steering input and roll on power progressively. If the rear tire breaks loose, record surface, tread, pressure, mode, lean angle and throttle input before changing setup.
If your bike has adjustable motor braking
Current Valtinsu documentation does not publish a rider-adjustable regenerative-braking setting. On another motorcycle with adjustable regeneration, stay within the documented range and test how off-throttle drag affects the rear tire during corner entry.
Brakes and Body Position Do Half the Work
Finish heavy braking before the slick part
Do most heavy braking while upright and straight, then reduce brake input as lean angle builds or the surface becomes polished or loose. Confirm the exact brake system is working correctly before any setup test.
Stay loose and weight the pegs
Relaxed arms, athletic stance, weight through the footpegs to settle the chassis. Look at the exit, not the front wheel. Adjust position deliberately instead of locking into one rigid posture and hoping the suspension sorts it out.
Errors that look exactly like setup problems
Late braking. A sudden wrist snap. An erratic line. Each of those produces wheelspin or a front-end slide that reads on paper like poor damping, and each of them costs nothing to fix. Ride two clean, conservative passes before you decide the bike is wrong.
The Baseline, Change, Test Loop
A written baseline-change-test loop turns an impression into comparable evidence.
Pick a Controlled, Authorized Test Area
Use a short, familiar area that is legally open to the vehicle and suitable for repeated low-speed tests. Prefer a closed-course or controlled practice area without public traffic, blind corners, drop-offs or trail users. If using public land, confirm the current vehicle-class designation and all local restrictions before testing.
Ride the baseline first
Several passes at a steady, repeatable pace on the documented setup. Then get specific about the symptom: which tire lets go, where in the corner, under what input. Vague notes produce vague conclusions.
Make one documented change
One manufacturer-approved parameter, inside its specified limits. A compression click. A small pressure adjustment. Log the exact change, the direction, and the size of it.
Repeat under comparable conditions
Same lines, same entry speeds, same inputs. If the surface dries out, the temperature swings, or you get tired, stop. Dirty data is worse than no data, because you will act on it.
Keep it, reverse it, or escalate
Symptom gone and nothing new appeared: keep the setting and write it down. Handling worse or less predictable: revert to baseline immediately. Still unclear after a clean test: that is a service question, not a tuning question.
Hardpack Symptom Matrix
Treat a repeatable symptom as evidence, not as proof that a particular adjustment is required. Record the conditions, inspect the related systems, compare against your baseline. Then act.
|
Observed symptom |
Conditions to record |
Low-risk checks |
Next decision |
|
Front tire pushes wide |
Entry speed, brake input, polished or loose layer |
Tread, approved pressure baseline, fork movement, rider inputs |
Retest at a conservative pace, or make one approved change |
|
Rear spins under acceleration |
Ride mode, throttle opening, lean angle, battery state |
Tread, pressure, chain, throttle response |
Reduce throttle rate, or test a documented mode change |
|
Harsh and skipping |
Bump shape, speed, seated or standing |
Pressure, compression baseline, shock service condition |
Compare one permitted setting change |
|
Wallows or oscillates |
Repeated bumps, braking, acceleration |
Sag, spring support, rebound baseline, loose fasteners |
Restore baseline or request service |
|
Rear steps sideways on entry |
Brake use, motor drag, surface type |
Brake operation, rear tread, approved control settings |
Retest with documented settings only |
|
Steering feels nervous |
Speed, ruts, braking, bar input |
Tread, steering play, front-to-rear balance |
Stop riding if mechanical looseness is present |
|
Range changed after setup |
Route, pace, pressure, mode, temperature, load |
Mechanical drag, recorded settings, battery state |
Compare only against similar conditions |
One symptom can have several causes. If it moves around between trail sections or between passes, look at the surface and your own inputs before you blame the setup.
When Setup Is Not the Answer
Stop for damage or abnormal operation
A leak, a bent wheel, persistent pressure loss, a brake fault, steering play, binding, an electrical warning, an unexplained noise. End the test. Never use another adjustment to paper over a mechanical problem, because the adjustment will hide the symptom without fixing the cause.
Hardware that does not suit the terrain
Tuning cannot make worn suspension, unsuitable tires, an incorrect spring or incompatible wheel components dependable on firm ground. Replace, service or correct the hardware to the approved specification instead.
What to hand support
Send the model, complete riding load, installed components, baseline sheet, symptom notes, test conditions and clear photos. Replacement brakes, throttles, controllers and batteries are listed under parts and accessories. A written baseline helps support separate setup from wear, damage or an equipment mismatch.
Judging Hardpack Suitability Before You Buy

For electric dirt bike hard terrain, peak motor output tells you almost nothing about whether a bike can be set up and supported properly. Documentation and serviceability tell you a great deal.
- Approved tire options, and whether replacements are actually available.
- Wheel and rim specifications, published rather than implied.
- Does the suspension spring suit your loaded riding weight, not the brochure rider?
- Compression and rebound adjustment ranges, documented with a counting convention.
- Predictable power delivery across the modes, which matters more than the top number.
- Manuals, setup diagrams and inspection procedures you can find without emailing anyone.
- Dealer coverage, spares, warranty terms, diagnostic help, suspension service options.
A well-documented, serviceable bike gives you more setup confidence than an impressive spec sheet with no usable support behind it.
How We Built This Method
Documentation over averages
Every figure in this guide either comes from a Valtinsu spec sheet or is deliberately left open. Tire, wheel, suspension and load specifications control the setup, not a community average, because the average bike does not exist.
One variable, written down
The baseline, change, test loop is the same protocol our support team asks riders to follow when a handling complaint arrives. It works because it produces a record instead of an impression.
Where we leave gaps open
There is no universal hardpack tire pressure, click count, sag figure, speed, mode or range value. Use the current manual and approved component specifications for the exact bike.
|
Gear, briefly. Firm ground is unforgiving in a slide. Wear a helmet with a DOT certification label, plus eye protection, gloves, boots, and body armour for faster riding. NHTSA has guidance on identifying a properly certified helmet and on the novelty helmets that are not. |
Final Hardpack Setup Checklist
- Classify the hardpack surface. Firm, polished, or loose over hard.
- Confirm legal motorised access for the loop you plan to use.
- Inspect tires, wheels, brakes, drivetrain and suspension.
- Record the exact manufacturer baseline from your documentation.
- Include gear and cargo in the riding load.
- Select a predictable, approved ride mode.
- Ride a conservative baseline pass.
- Identify one repeatable symptom, specifically.
- Make one permitted, documented change.
- Repeat the same low-risk test under comparable conditions.
- Reverse any change that creates a second problem.
- Stop and contact support for damage, warnings, or abnormal operation.
Conclusion
A dependable electric dirt bike setup for hardpack trails has to match the ground in front of you. Firm dirt, polished glaze and loose-over-hard sections do not produce the same traction, and they do not respond to the same fix.
So skip the borrowed settings. Somebody else’s equipment, load, and conditions are not yours. Start from the exact Valtinsu and component-manufacturer baselines, inspect the bike properly, write down its configuration, then test one approved, reversible change at a time. Keep it only when it improves the symptom you were chasing without creating a new one.
That is slower than a forum answer. It is also the only version that holds up on the third lap.
Compare the Valtinsu electric dirt bike lineup, then check the EM23 product page for current wheel, tire and control specifications before choosing a hardpack setup.
FAQs
What Tire Pressure Should I Use on Hardpack Trails?
There is no universal hardpack PSI. Start with the approved cold-pressure guidance for your exact bike, tire, rim, riding load and puncture-protection system.
- Measure pressure before the ride with the same reliable gauge.
- Record the cold reading, load and surface condition.
- Change only within the manufacturer’s permitted range and in small steps.
- Repeat the same short test section and keep the safer setting if handling becomes less predictable.
What Dirt Bike Tires Work Best on Hardpack?
A hard-terrain pattern is a useful starting point, but the whole tire has to match the route and bike.
- Closely supported knobs resist folding on firm ground.
- Rubber compound matters on polished or dusty hardpack.
- Casing strength and puncture protection matter where rocks are embedded.
If the route mixes loose-over-hard, gravel and rock, choose for the worst recurring section—not only the average surface.
Should Suspension Be Hard or Soft for Hardpack?
Neither setting is universally correct. Begin with the documented baseline, correct spring support and sag, then diagnose a specific symptom.
- Skipping or deflecting can indicate insufficient compliance, poor rebound control, excess pressure or a worn tire.
- Wallowing or repeated bottoming can indicate inadequate support or damping.
Change one permitted setting at a time and write it down; random clicker changes make the cause harder to find.
How Do I Reduce Rear-Wheel Spin on Hardpack?
Use a smoother throttle input first. Electric torque arrives quickly, so traction usually improves when power is rolled on rather than snapped open.
- Confirm the tire is serviceable and pressure is at the documented baseline.
- Select the smoothest approved ride mode you can control consistently.
- Keep the bike more upright and load the rear tire progressively.
- If spin persists, inspect drivetrain, suspension and surface conditions before adding power.
Which Riding Mode Is Best for Hardpack Trails?
Use the manufacturer-approved mode with the most predictable response for the current surface. Mode names are not standardized, and a lower speed cap does not always mean a softer throttle map. Test throttle and regenerative-braking behavior in a controlled authorized area before the trail.
How Do I Know Whether Tire Pressure or Suspension Is Causing Poor Grip?
Return both to documented baselines, then isolate one variable. Do not tune around a damaged tire, incorrect sag, loose hardware or a mechanical fault.
- Reproduce the symptom on the same short, controlled section.
- Change one permitted pressure step while leaving suspension unchanged.
- Reverse the change if grip or stability worsens.
- Only after pressure is understood should you test one documented suspension adjustment.
- Record each result so the baseline can be restored.
Sources
- NHTSA, Tire Safety Ratings and Awareness (2026)
- USDA Forest Service, Motor Vehicle Use Map Information and Frequently Asked Questions (2026)
- Office of the Federal Register, 36 CFR 261.13, Motor vehicle use (2026)
- Cornell Legal Information Institute, 36 CFR 261.15, Use of vehicles off roads (2026)
- Bureau of Land Management, Off-Highway Vehicles (2026)
- NHTSA, Choose the Right Motorcycle Helmet (2026)


Looking for something else?
Electric Dirt Bike Replacement Parts Availability: What Buyers Should Verify Before Ordering
LEARN MORE
How to Check an Electric Dirt Bike for Safety Recalls by Model and Serial Number
LEARN MORE
How to Choose an Electric Dirt Bike Repair Shop: Questions to Ask Before Service
LEARN MORE
How to Lift a Fallen Electric Dirt Bike Without Hurting Yourself or the Bike
LEARN MORELooking for something else?
Electric Dirt Bike Fall Riding on Wet Leaves: Grip, Hidden Obstacles and Braking
LEARN MORE
Electric Dirt Bike Trailside Power Loss: Recovery Plan When the Battery Is Dead
LEARN MORE